
Surgical instruments are the backbone of any operating room. Whether you’re in a hospital, a veterinary clinic, or a dental practice, keeping instrument sets properly sanitized is one of the most important steps for patient safety. Contaminated tools can lead to infections, complications, and even failed procedures.
If you’re wondering how to sanitize surgical instrument sets the right way, this guide will walk you through every step—from pre-cleaning to sterilization—so your instruments stay in top condition and ready for use.
Why Sanitizing Surgical Instrument Sets Matters
Surgical instruments come in direct contact with tissue, blood, and other body fluids. Even microscopic traces of contamination can spread harmful bacteria or viruses. Proper sanitization ensures:
- Patient safety – Reducing infection risk during and after surgery.
- Instrument longevity – Preventing rust, stains, and dulling.
- Compliance – Meeting sterilization standards and protocols (CDC, AAMI, or veterinary guidelines).
- Professional reputation – Delivering the highest standard of care.
Step 1: Pre-Cleaning (Right After Use)
Immediately after surgery, surgical instruments should never be left dry. Proteins and blood can harden on metal surfaces if ignored.
- Wipe down instruments with sterile water or an enzymatic sponge.
- Soak in enzymatic solution if immediate cleaning isn’t possible.
- Keep hinged instruments open to allow fluids to reach all areas.
⚠️ Tip: Avoid using saline for soaking—it can cause corrosion.
Step 2: Manual Cleaning
Once in the decontamination area, instruments must be thoroughly cleaned before sterilization.
- Use a soft brush and neutral pH detergent.
- Pay special attention to hinges, serrations, and joints where debris may hide.
- Rinse with deionized or distilled water to prevent mineral buildup.
For veterinary and orthopedic sets, where bone fragments are common, extra scrubbing may be needed.
Step 3: Ultrasonic Cleaning
Ultrasonic cleaners use sound waves to dislodge microscopic debris that manual brushing can’t reach.
- Place instruments loosely in a basket—do not overcrowd.
- Use manufacturer-approved enzymatic or cleaning solutions.
- Run cycles for 5–10 minutes depending on instrument type.
This step is especially important for complex tools like rongeurs, forceps, or instruments with lumens.
Step 4: Rinse and Dry
After ultrasonic cleaning:
- Rinse instruments again with distilled water.
- Dry thoroughly with lint-free cloths or medical-grade air dryers.
- Ensure no moisture remains—wet instruments risk corrosion and sterilization failure.
Step 5: Inspection and Maintenance
Before assembling the set for sterilization:
- Check for damage (bent tips, dull blades, cracked insulation).
- Lubricate moving joints with water-soluble surgical instrument milk.
- Replace worn instruments to prevent intraoperative issues.
Regular inspection not only ensures safety but also extends instrument lifespan.
Step 6: Packaging
Packaging keeps instruments sterile until use.
- Place instruments in sterile wraps, pouches, or rigid sterilization containers.
- Ensure sharp tools are covered to prevent wrap tears.
- Keep sets organized by procedure type (orthopedic, dental, general surgery, etc.).
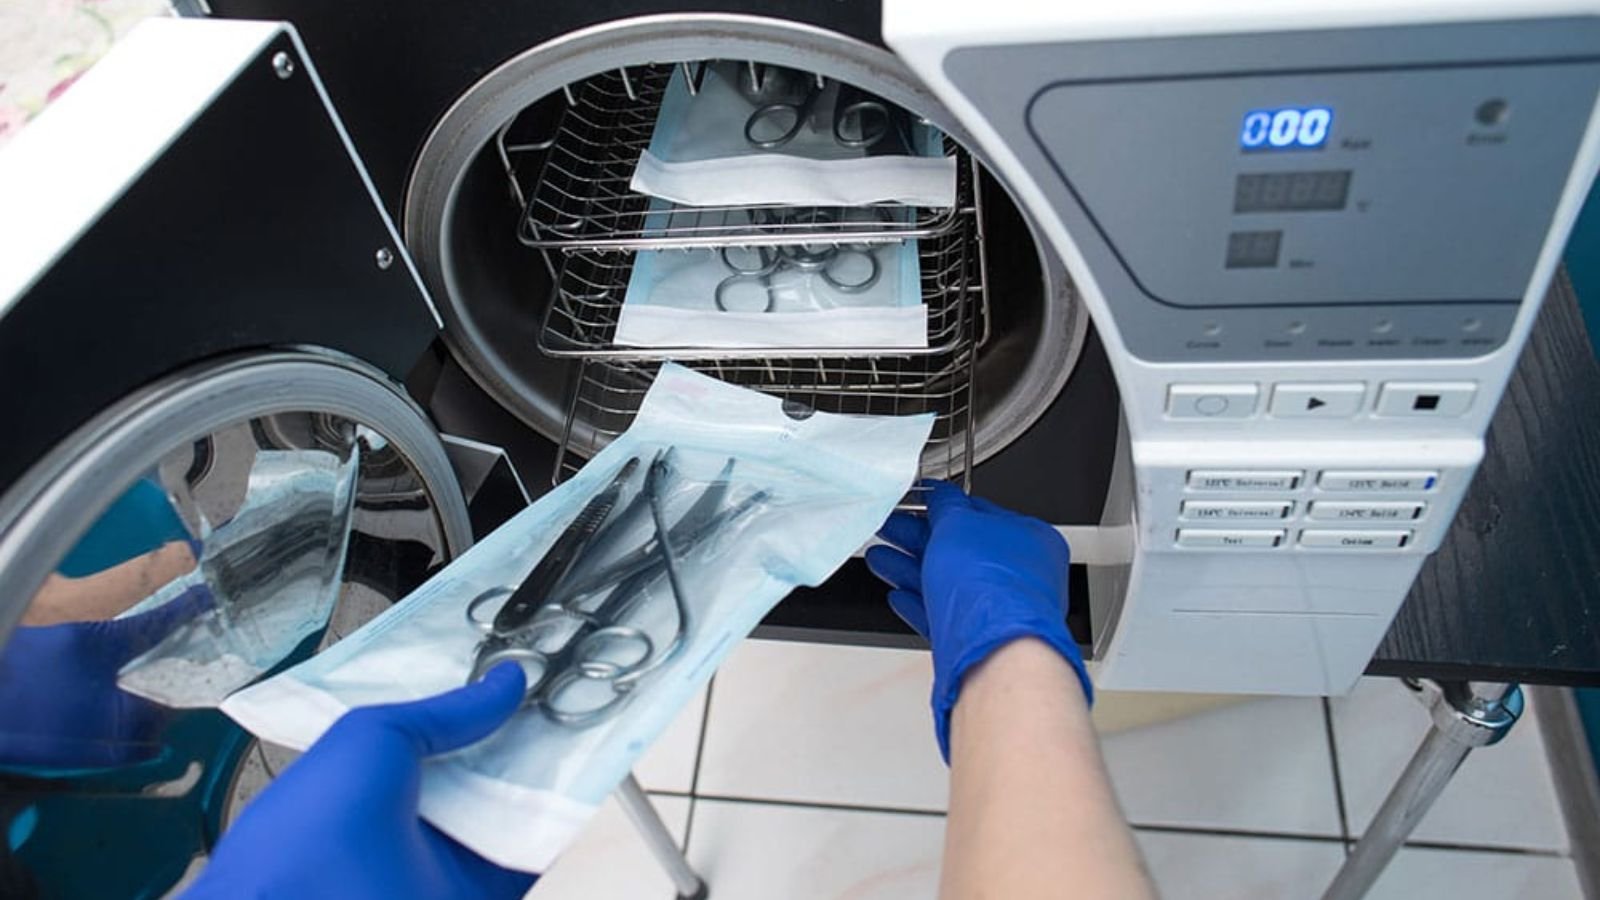
Step 7: Sterilization
The gold standard for surgical instrument sterilization is steam autoclaving.
- Autoclave settings:
- 121°C (250°F) for 30 minutes OR
- 132–134°C (270–273°F) for 4–10 minutes (flash sterilization)
- Arrange packs so steam can circulate freely.
- Never overload the chamber.
For heat-sensitive tools (like endoscopes or some dental instruments), low-temperature sterilization methods such as ethylene oxide (EtO), hydrogen peroxide plasma, or peracetic acid may be required.
Step 8: Storage and Handling
Sterilization isn’t the final step—storage matters just as much.
- Store packs in a clean, dry, temperature-controlled area.
- Avoid stacking heavy sets that could compromise packaging.
- Follow first in, first out (FIFO) rotation to use older packs first.
Common Mistakes to Avoid
- Using tap water instead of distilled water.
- Overloading ultrasonic cleaners or autoclaves.
- Skipping lubrication, leading to stiff or corroded joints.
- Touching sterilized packs with ungloved or unclean hands.
Final Thoughts
Sanitizing surgical instrument sets is not just a routine—it’s a responsibility. Proper cleaning, sterilization, and storage protect both patients and practitioners while preserving the value of your instruments.
At VestSurgicalMart, we always recommend handling instruments with care and following strict sterilization guidelines to ensure every set is safe, durable, and ready for surgery.